INSTALLATION
INSTALLATION STEP BY STEP

STEP 1
Make sure surfaces are clean and dry.
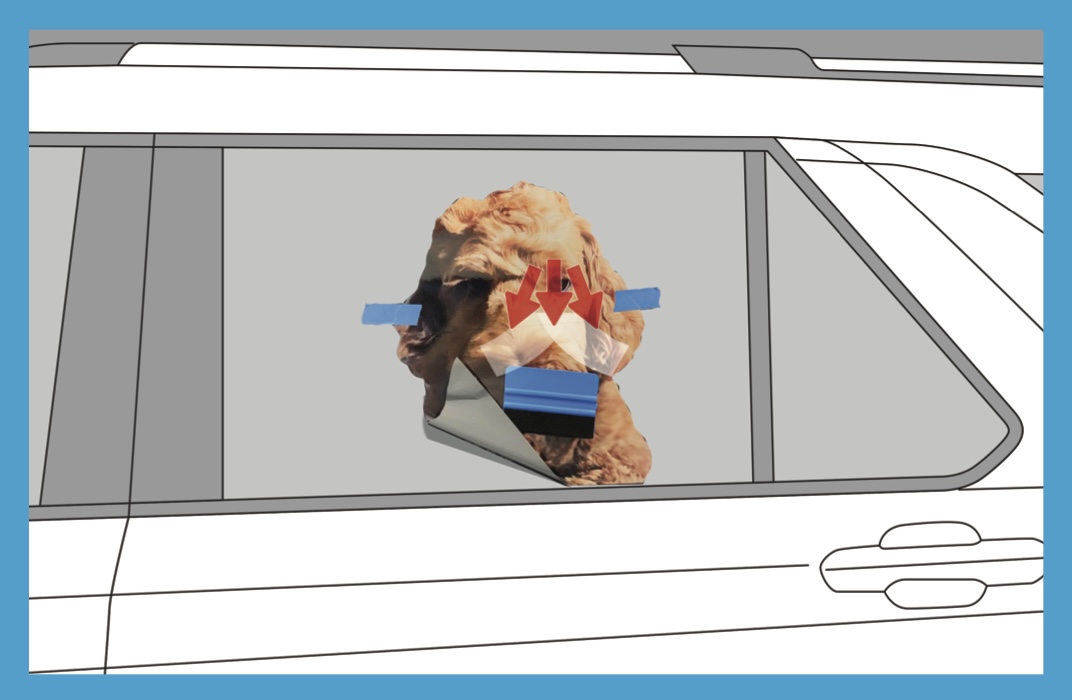
Your WindowPet is pre cut horizontally on backing paper.
Align the bottom edge of WindowPet just above rubber seal on bottom of window.

STEP 2
Once in place, lift the bottom of your WindowPet and peel off the backing paper.

STEP 3
Burnish WindowPet in a downward wiper motion from centers outward.
Work your way down until entire bottom half has been applied.

STEP 4
Lift up and remove the backing paper from the top half of your WindowPet.
Repeat the burnishing process.

STEP 5
Once you burnish down all the edges of your WindowPet, you are ready to move on to the paws (if applicable).

STEP 6
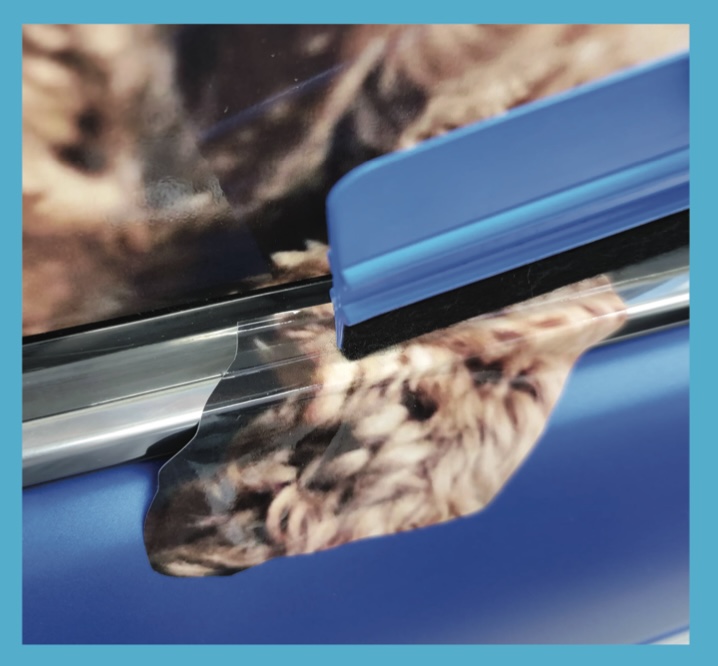
Line up paws so they match with your pets photo.
Align straight cut edge with top of door/body trim.

STEP 7
Starting from top, burnish paw into folds of trim and door/body.
Use the hard edge of the tool to mold into tight creases.

STEP 8
Go over the paw again to make sure there are no loose edges.

YOU DID IT!
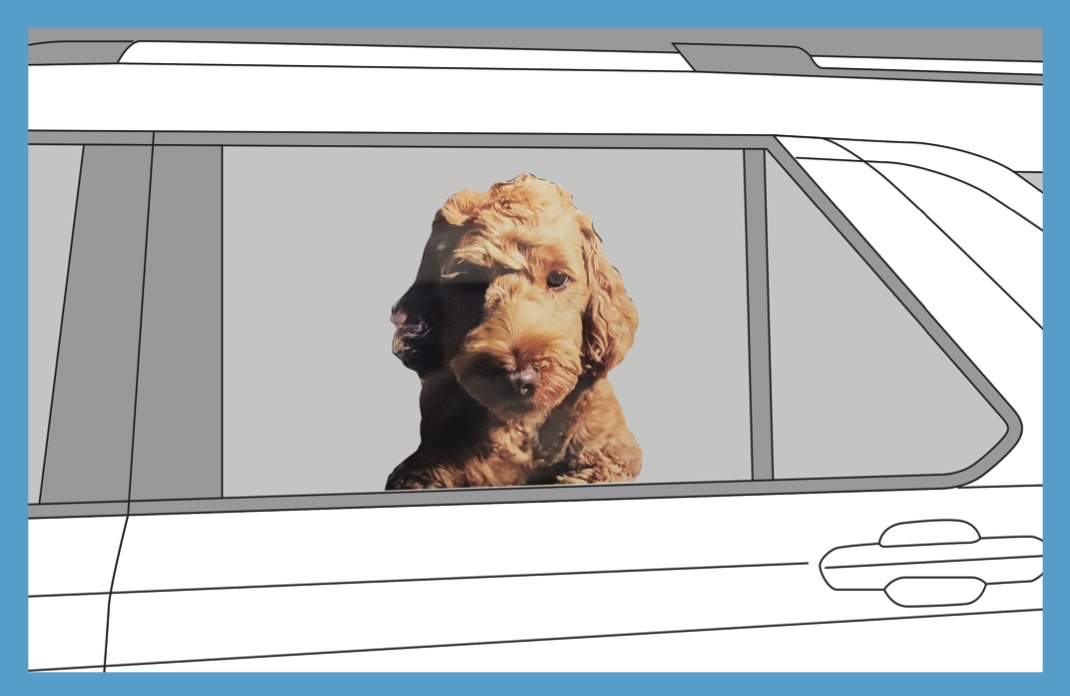
Your WindowPet is now ready for the world!
